Ingredients
– 3/4 cup Seedless raspberry jam Adds sweet berry flavor and helps coat the fruit.
– 1 quart Strawberries, hulled and sliced into 1/4-inch pieces Bring freshness, color, and juicy texture.
– 1 pint Raspberries Give the trifle a tart, bright berry note.
– 1 pint Blueberries Add sweetness, shape, and deep color.
– 1 1/2 cups Cold heavy whipping cream Whips into a light, fluffy topping.
– 16 ounces Cream cheese, at room temperature Creates a rich and smooth base for the filling.
– 1 3/4 cups Confectioners’ sugar Sweetens the cream layer and keeps it silky.
– 1 teaspoon Vanilla extract Adds warmth and rounds out the flavor.
– 1 7-ounce package Crisp ladyfingers Form the soft cake-like layers after chilling.
– For garnish Fresh mint, optional Adds a fresh finish and pretty color.
Instructions
1-First Step: Prep the fruit
Start by washing the strawberries, raspberries, and blueberries. Hull the strawberries, then slice them into 1/4-inch pieces. In a medium bowl, gently mix the strawberries, raspberries, blueberries, and 3/4 cup seedless raspberry jam. Stir carefully so the berries stay mostly whole while the jam coats them with a shiny glaze.
Let the fruit sit for 10 to 15 minutes at room temperature. This helps the berries release some juice and deepens the flavor. If you want a more tart dessert, use the fruit as is. If you prefer a sweeter trifle, let the jam mixture rest a little longer.
2-Second Step: Make the cream filling
In a large bowl, beat the 16 ounces of room-temperature cream cheese until smooth. Add the 1 3/4 cups confectioners’ sugar and 1 teaspoon vanilla extract, then mix again until creamy and even. Scrape the sides of the bowl so everything blends well.
In a separate chilled bowl, whip the 1 1/2 cups cold heavy whipping cream until stiff peaks form. This usually takes a few minutes with a hand mixer or stand mixer. If you are making a lighter version, you can fold in a low-sugar whipped topping instead, but the texture will be a little different.
3-Third Step: Combine the filling
Gently fold the whipped cream into the cream cheese mixture. Use a spatula and slow motions so the filling stays light and airy. The goal is a smooth cream that holds its shape but still feels soft enough to spread.
Taste the filling before assembling. If you want a sweeter trifle, add a little more confectioners’ sugar. If your berries are very sweet, you may not need anything extra. This is a nice spot to adjust the dessert to your preference.
4-Fourth Step: Build the trifle layers
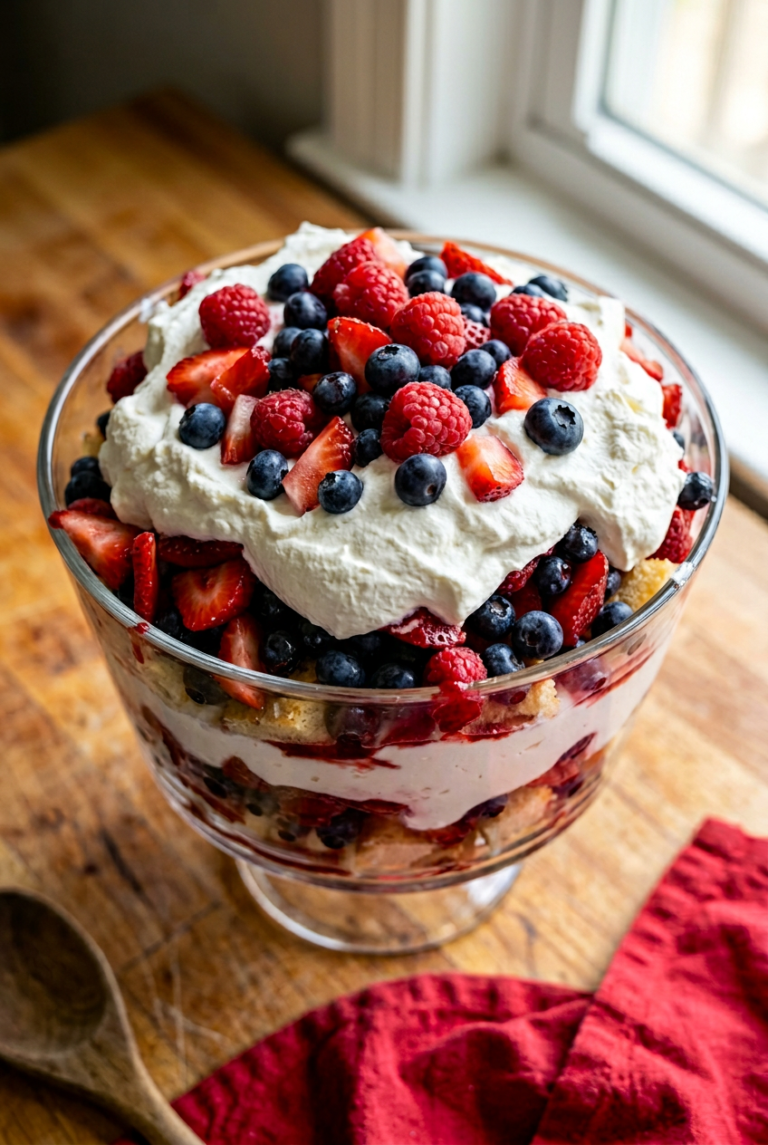
Set out a large trifle bowl, glass serving bowl, or individual dessert cups. Start with a layer of crisp ladyfingers on the bottom. Depending on the shape of your dish, you may need to break some ladyfingers to fit. Next, spread a layer of the cream filling over the ladyfingers, then spoon on a layer of the berry mixture.
Repeat the layers until you use all the ingredients, finishing with cream and berries on top. Try to keep the sides of the bowl neat so the colorful layers show through. If you are serving guests, a clear dish makes the dessert look especially inviting.
5-Fifth Step: Chill the trifle
Cover the assembled dessert with plastic wrap and refrigerate it for at least 4 hours. For the best texture, chill it overnight. During this time, the ladyfingers soften and absorb some of the berry juices and cream, turning the dessert into a tender, spoonable treat.
This chilling time is also helpful for busy cooks. You can build the trifle earlier in the day, then focus on the rest of the meal later. That makes the No-Bake Summer Berry Trifle a great choice for entertaining.
6-Final Step: Garnish and serve
Just before serving, add fresh mint if you want a bright, polished finish. Spoon the trifle into dessert bowls and make sure each serving gets a bit of fruit, cream, and ladyfinger. The colors should be vibrant and the layers soft and creamy.
Last Step:
Please leave a rating and comment letting us know how you liked this recipe! This helps our business to thrive and continue providing free, high-quality recipes for you.Notes
🍓 Choose ripe, in-season berries for the juiciest and most flavorful trifle.
⏰ Chill for at least 2 hours or overnight – it tastes even better the next day!
✨ Use a clear trifle bowl to showcase the beautiful layers for stunning presentation.
- Prep Time: 20 minutes
- Chill: 2 hours
- Category: Dessert
- Method: No Bake
- Cuisine: American
- Diet: Vegetarian
Nutrition
- Serving Size: 1/10 of trifle
- Calories: 450 calories
- Sugar: 30g
- Sodium: 220mg
- Fat: 28g
- Saturated Fat: 16g
- Unsaturated Fat: 10g
- Trans Fat: 1g
- Carbohydrates: 45g
- Fiber: 3g
- Protein: 6g
- Cholesterol: 90mg