Ingredients
– 4 large egg yolks for thickening the curd
– 2/3 cup granulated sugar for balancing tartness
– 1 tablespoon lemon zest for adding aroma
– 1/3 cup fresh lemon juice for providing tang
– 1/8 teaspoon salt for sharpening the flavor
– 6 tablespoons unsalted butter for creating a glossy finish
Instructions
1-First step: Gather and prep your ingredients Before you turn on the stove, measure everything first. Separate the egg yolks if you are using the classic version, zest the lemon, and squeeze enough juice to get 1/3 cup. Cut the butter into pieces so it melts evenly later. This quick prep makes the cooking part easy and helps avoid scrambling the eggs.
2-Second step: Whisk the base In a medium saucepan, whisk together the egg yolks, sugar, lemon zest, lemon juice, and salt until smooth. If you are using the thicker version with 2 egg yolks plus 1 whole egg, whisk that mixture very well before heating. The mixture should look pale and well blended. A sturdy whisk works best here, but a spoon will do in a pinch.
3-Third step: Cook over medium-low heat Place the pan over medium-low heat and keep whisking constantly. This is the part that turns the mixture into real lemon curd. Do not rush it with high heat, because that can make the eggs curdle. Cook until the mixture thickens enough to coat the back of a spoon, which usually takes about 8 to 10 minutes. If you want to be precise, the curd should reach about 170 to 175°F.
4-Fourth step: Watch for the right thickness The texture should be smooth, creamy, and thick enough that it does not run right off a spoon. If you drag your finger across the back of the spoon, the line should stay in place. That is your sign that the curd is ready. Keep whisking while it thickens so the bottom of the pan does not scorch.
5-Fifth step: Stir in the butter Remove the saucepan from the heat and add the butter pieces one at a time. Stir until each piece melts before adding the next one. This step gives the curd its rich finish and silky shine. If you used salted butter, skip the added salt next time for a cleaner flavor balance.
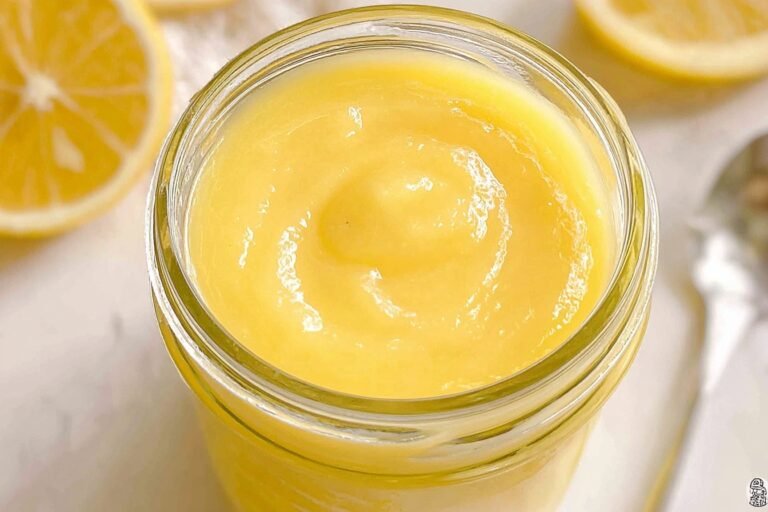
6-Sixth step: Strain for a silky finish For the smoothest result, pour the curd through a fine mesh sieve into a clean bowl or jar. This removes any tiny bits of cooked egg or zest. It is a small step, but it makes a big difference if you want that perfect homemade lemon curd texture.
7-Final step: Cool and chill Let the curd cool at room temperature, then cover it and refrigerate it until fully chilled. As it cools, it will thicken even more. Once cold, it is ready to use as a lemon filling for tarts, layer cakes, thumbprint cookies, or even breakfast toast.
Last Step:
Please leave a rating and comment letting us know how you liked this recipe! This helps our business to thrive and continue providing free, high-quality recipes for you.Notes
🍋 Fresh lemons maximize bright zest and juice flavor punch.
🔥 Constant whisking over gentle simmer prevents curdling.
❄️ Chill fully for spreadable texture; freezes 3 months.
- Prep Time: 10 minutes
- Chill Time: 1 hour
- Cook Time: 10 minutes
- Category: Dessert
- Method: Stovetop
- Cuisine: British
- Diet: Vegetarian, Gluten-Free
Nutrition
- Serving Size: 2 Tbsp
- Calories: 100 kcal
- Sugar: 9g
- Sodium: 40mg
- Fat: 6g
- Saturated Fat: 3.5g
- Unsaturated Fat: 2.5g
- Trans Fat: 0g
- Carbohydrates: 10g
- Fiber: 0g
- Protein: 1g
- Cholesterol: 80mg