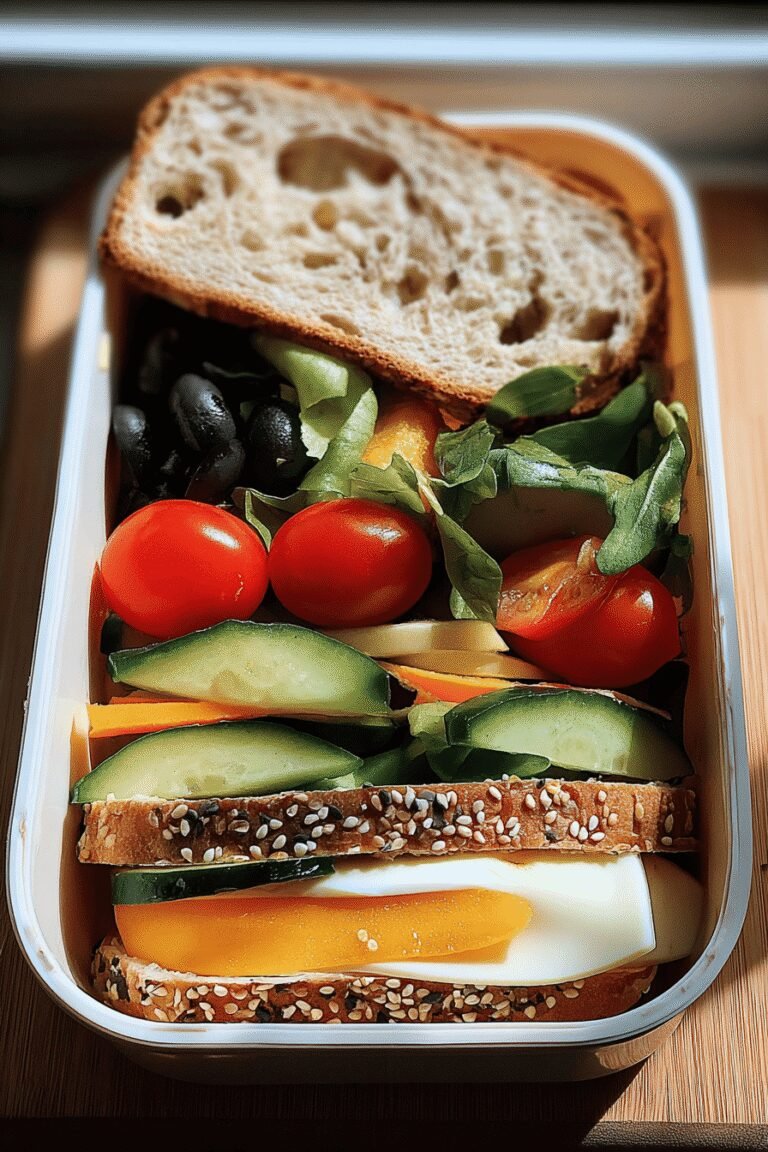
Ingredients
– 200g Chicken breast
– 1 cup Quinoa
– 150g Mixed vegetables
– 2 tbsp Olive oil
– tofu or tempeh as vegan substitute for chicken breast
– gluten-free soy sauce or tamari for seasoning
Instructions
1-Gathering Your Equipment: Before you begin cooking, make sure you have all the necessary equipment on hand. This includes measuring cups, sharp knives, cutting boards, and appropriate cookware. Having everything ready before you start makes the process much smoother, especially during busy mornings.
2-Preparing the Base: Cook the quinoa according to package instructions. Typically, this involves rinsing the quinoa, simmering in water for about 15 minutes until fluffy, and then letting it rest for a few minutes. Quinoa makes an excellent base for lunch boxes because it maintains its texture well, even after being refrigerated.
3-Cooking the Protein: In a pan, heat olive oil over medium heat and cook the chicken breast until fully cooked and golden brown, about 6-8 minutes per side. If you’re making a vegan version, prepare the tofu or tempeh similarly. For extra flavor, consider marinating the protein overnight with your favorite herbs and spices.
4-Adding Vegetables: Add mixed vegetables to the pan and sauté for 4-5 minutes until tender but still crisp. Using colorful vegetables not only enhances the nutritional profile of the meal but also makes the lunch more visually appealing, which is especially important for children who might be picky eaters.
Season with gluten-free soy sauce or preferred seasonings to enhance flavor. If you’re cooking for children, you might want to go lighter on strong seasonings and focus on natural herb flavors like thyme, basil, or mild chives.
5-Combining Components: Combine the cooked quinoa, chicken, and vegetables in the pan to mix flavors and warm through. At this point, you can add any additional seasonings or flavor boosters your family enjoys. This is also your opportunity to incorporate different cuisines by adding specific spices or sauces.
6-Packing the Lunch Boxes: Divide the mixture evenly into lunchbox containers. Allow to cool slightly before sealing and refrigerating. When packing, consider the arrangement place the main components in one compartment and include small sides like fruits or additional vegetables in separate sections.
For meal prep, prepare up to 4 days in advance, ensuring safety and freshness. Reheat thoroughly before serving, though many of these components taste delicious when served cold or at room temperature, which makes them perfect for school lunches.
Last Step:
Please leave a rating and comment letting us know how you liked this recipe! This helps our business to thrive and continue providing free, high-quality recipes for you.Notes
🕒 Prep meal components the night before to save time during busy mornings.
❄️ Freeze the lunch bag overnight to keep meals chilled longer without separate ice packs.
🌿 Use sustainable, reusable lunch bags to reduce single-use waste and support eco-friendly practices.
- Prep Time: 15 minutes
- undefined: undefined
- Cook Time: 0 minutes
- Category: Lunch
- Method: Meal prep and packing
- Cuisine: Various
- Diet: Healthy, balanced
Nutrition
- Serving Size: 1 lunch box